The Elementor Form Builder Tutorial- A Step By Step Guide
Building solid relationships with your customers is essential for every business. It is why forms are a necessity for business websites. They facilitate clients to reach you and offer crucial feedback or information. However, creating these Elementor Form Builder can be a challenge. With the Elementor Contact form you can also use the Elementor Grid Builder to optimize your work more efficiently.
But Elementor Form Builder make this process very simple for you. The page builder is famous for making the captivating website-building process effortless without knowing the coding. It features an excellent form builder to help you create user-friendly and aesthetic forms.

This post will unravel the need Elementor Form Builder, how you can craft them, and some additional strategies. Let's get started!
Why Should You Create Elementor Forms?
Elementor Form Builder for your website offers multiple benefits. Apart from being a straightforward and quick way for your visitors to contact you, these forms work well for generating leads. They help collect valuable information coming from your visitors.
These tools are also excellent and helpful for registering potential customers and accepting payments. However, you must employ a plugin to include a form on your website. Otherwise, you can use Elementor page builder, which allows users to create engaging forms without coding.
The users can build forms coordinated with the website's aesthetic and branding using the drag-and-drop editor. Users can choose multiple forms like contact forms, gravity forms, and register forms from the Elementor Form Builder.
Have you ever thought what can make your website more user-friendly other than using these forms on your website?
It is by using a premium WordPress theme on your website. If you are looking for a Popular WordPress theme for your website then there is no place better than Mizan Themes. moreover if you are an agency then you can also go for the WordPress Theme bundle, wherein you can get 20+ premium WordPress themes under a single package.
The Steps to Create the Elementor Form Builder
To create Elementor forms with Elementor Form Builder, you can follow a handful of easy-to-follow steps. After installing and activating your Elementor page building for your website, it is time to carry out the following steps.
Step 1: Add Elementor Contact Widget
To get the ball rolling, you must access the post or web page where you desire to place your contact form. Next, at the top of your page, locate and select the "Edit with Elementor" option.

Doing so will produce an editor interface for Elementor. On the left side of your screen, you can find multiple widgets like posts, portfolios, forms, galleries, slides, etc. Select the "Form" widget from these options.
Next, drag the Elementor Form Builder widget and drop it on the page. It will successfully insert the basic contact form.
Step 2: Set Up the Contact Form Fields
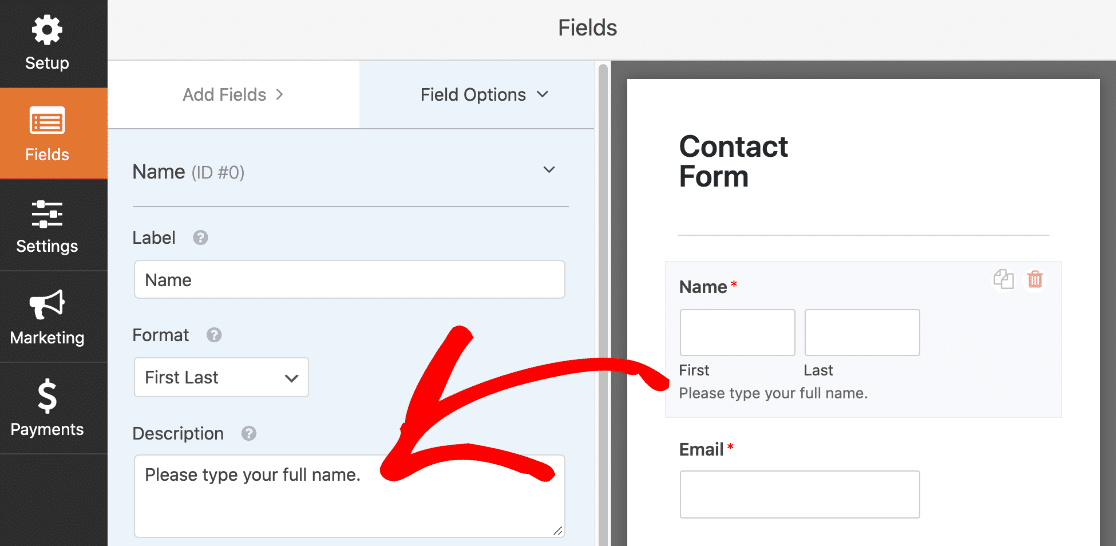
For the next step, set up your form fields. You can do so by selecting the widget and making changes to the text. For additional files, you can choose "Add Item." Pick a field type from the list. Further, add a label to name your form field. It will guide users while inserting information.

The "Placeholder" option allows you to change the text that appears before the visitor inserts information. It is best to offer users examples of the information you require. Moreover, you may enable the "Required" setting or alter the width of the columns. The "Buttons" panel allows you to change the form buttons' appearance, size, colors, and font.
Step 3: Configure Form Submission
Once you have your form fields ready, the subsequent step involves setting up the settings for the form submission. The Elementor Form Builder editor comprises "Email" for multiple options. You can start by adding the email ID to the "To" field, which will receive the delivered submissions.

It is possible to add more than one email address. You may edit the email's subject and message. When done, you can save these changes.
Step 4: Do all the Customization You Need
The Elementor Form Builder enables users to customize the form as desired. For further personalizing your contact form, you may allow custom messaging. Users will receive the message regarding the contact form, whether in terms of successful submission or error. It is the Elementor contact form's advanced feature.
Choose "Additional Options" and turn the "Custom Messaging" toggle to "Yes." You can modify the messages for four cases. The success message appears when the user successfully submits the form, and the error message will appear in case an issue arises during the form submission.
The required message will tell users to fill in a necessary field in the Elementor Form Builder, while the invalid messages will inform the users about an invalid detail about email or contact number. Users may adjust these messages to fit the style and voice of their brand.
Step 5: Style the Contact Forms
Now that essential aspects of the form, like fields and text, are out of the way, it is time for the fun part. You can begin styling your contact form's design that fits your brand identity.

For this, select the tab for "Style" on the widget editor. Explore all the settings and choices for customizing your contact form's design. Users may modify the padding, spacing, colors, labels, buttons, and size.
Step 6: Save the Form and Publish It
After modifying the contents and appearance of your Elementor Form Builder to your satisfaction, you can save the changes made and publish them. Hit the "Publish" button present below on the left side of your screen.
The front end is available to preview the contact form and see if it is what you want. Once the form is live on your website, users can send in information or feedback and help boost your conversions.
Additional Strategies to Create the Elementor Forms
Are you wondering if it is possible to build Elementor contact forms with Elementor Form Builder for the WordPress website without paying for the costly license? Well, some methods make this possible. For this purpose, you must combine your Elementor page builder with other available form plugins like Formidable Forms or WPForms, It is one of the best Business WordPress Plugins to create perfect forms for your website.
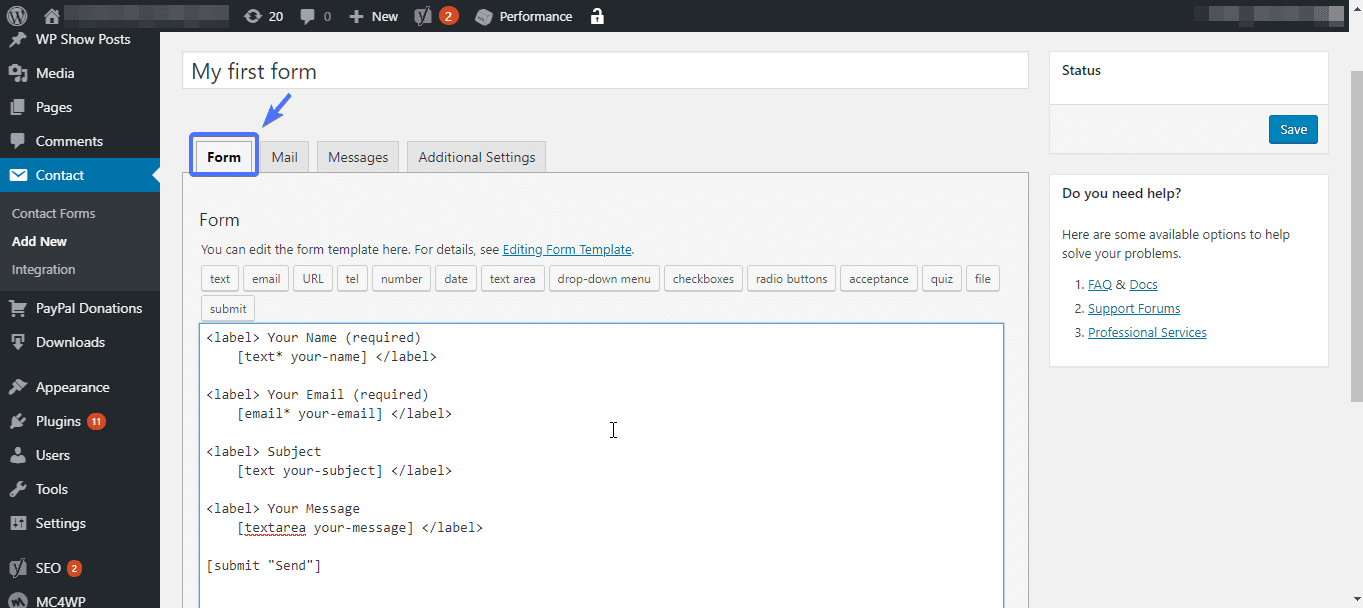
- For instance, you choose to install Formidable Forms. After activating the plugin, visit the dashboard to access the "Formidable" tab. Next, navigate to "Forms" and select "Add New." You will get a list of choices. Click "Contact Form" and pick from the host of pre-designed templates.
- After building the form, scan to the page where you want it and access the interface for the Elementor editor. Click on the "Formidable Forms" widget on the panel on the left side. You can edit the buttons, colors, text, format, and more.
- After you are satisfied with the modifications, you can save and publish them. However, this process requires more extra steps and fuel in the tank than when working with the Elementor premium version. Nevertheless, if this helps save money, you do not have to buy the premium plan.
Conclusion
Building relationships with your customers is vital for every website. Elementor Form Builder allow your visitors to communicate with you and send feedback. They also enable your customer to sign up for an account, provide payment details, and more. But building elegant and engaging forms can be a task.
With Elementor, this process becomes more convenient. After adding the form widget to a desirable page, you can organize the fields and modify the form settings. You may customize the designs to match your brand identity.
